Friday, March 8, 2013

Easter Bunting Tutorial

Today is the last day of the Easter Bunny Hop hosted by Lilac Lane and it is my stop :)  I am super excited to share this ever so cute quilted Easter Bunting :)  This is a fun project that sews up quick but creates a big impact for your Easter Decor.  (Which honestly, the basket and the figurines were the extent of my Easter decor, so it really needed some help :)


So let's get to it . . .

YOU WILL NEED:
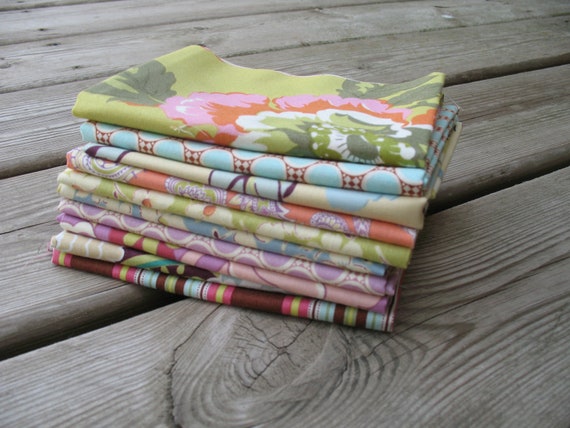
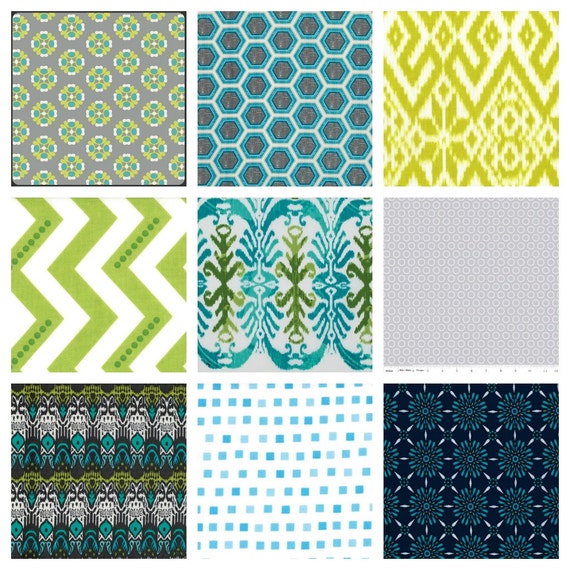
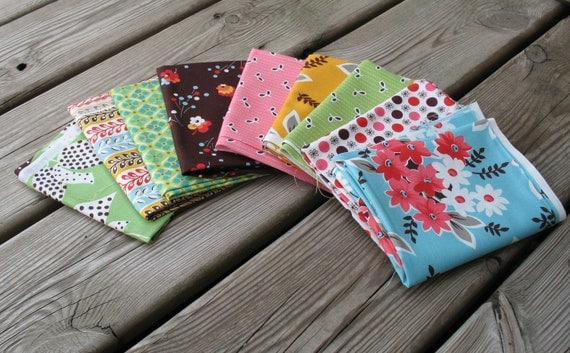
1 Charm Pack or large scraps (shown with Happy Ever After by Riley Blake)
A large scrap of batting
Ribbon or embroidery floss
A water soluble Marking pen
A pair of pinking shear
Printed Easter Bunting Templates  (Just click on the link to print the templates)


First off, you need to decide on a layout.  The fun part about this bunting is you can mix it up any way you want.  Do as many bunnies, chicks, and/or eggs as you like in any order you like.  The template includes the bunnies and chicks facing both left and right so remember that when you are determining your layout.  

Once you have decided on what figures you want in your bunting . . . you are ready to start tracing your templates.  There are 2 ways to trace your templates.  You can either . . . 

Cut the template out and lay it on your fabric and trace around the template.


Or, you can tape the template in a window or on a light box and then tape the fabric in front of the template and simply trace the template outline.


Whichever way you decide is fine.  Trace as many fronts as you desire in your bunting.  For me, I did 1 bunny, 1 chick, and 8 eggs.

However many figures you cut out, cut the same amount of 5" x 5" batting squares from your scrap of batting and also gather the same amount of 5" x 5" charms or scraps to be used as the back of your bunting.


Now, you get to make some mini quilt sandwiches :)  Layer a mini sandwich with the backing charm right side down, followed by a batting square on top of that, and then the traced fabric on top with right side up.  Put some safety pins in it to baste the sandwich.


Now, decide on what colors you want to stitch on each figure.  It is helpful to use bold and bright colors that will stand out on the print.   Stitch a straight stitch directly on top of the traced line of each sandwich.  Be sure to back stitch a few stitches at the beginning and end to secure it in place.  If you have a walking foot it would come in handy here :)    Hint . . .  If you can stitch the eggs without raising your presser foot you will get a much smoother curve and take your time on the bunny and chick and raise your presser foot lots to keep the details.

Once the outline is done it is on to the fun part!!  Adding embellishments :)  This is where you can totally let your creativity roam free!!  But if you wanted to simply highlight the fabrics you can leave them un-stitched.  The decision is totally yours so that you can get the look you want.

For the bunny and chick, I decided to keep it a little simple and just added a eye using a basic zig-zag stitch and then a straight stitch to add a leg and wing.

The eggs are a whole lot of fun to embellish!!  And the options are endless. .   I decided that a little Free Motion Quilting would be fun on some of the eggs.  If you are new to free motion quilting this is a great time to practice!!  You can see my videos on FMQ to give you some basics  I did a basic loops and meandering on the first 2.  (And ya, the eggs are reversible, more options :)

And with the second two I got a little fancier and did some echoed paisley's and some swirls.  I just love micro stitching, it is so much fun!!


And hey, if Free Motion Quilting isn't your thing, you can always embellish with some basic stitching.  The first egg is embellished with basic stitches on my sewing machine.  Just start at one edge, backstitch a few stitches and sew across and then back stitch at the end.  I didn't bother with marking or anything, but if you want to ensure your lines are straight, you can always mark lines with your water soluble pen first.  The second one was some fancier geometric lines.


And then if you have a super fancy machine that has lots of pretty stitches that never get used . . . well now is your chance to try them out.  I had a blast sewing on all these stitches that I didn't even know I had.  Once again, just remember to backstitch at the beginning and end :)


Once you are finished embellishing all of your figures, grab your pinking shears and cut around the stitched edge of the figures leaving about 1/8".  The eggs are simple.  The bunny and chick take a little longer but come out so cute they are worth the time.  Notice, I didn't cut all the way in between the chick's feet.  It isn't necessary and is near impossible :)  


Now, go ahead and lay your figures out according to your pre-decided layout plan.  I am going to show 2 ways to stitch your bunting together.  You can either . . .


Stitch each of the figures using some embroidery floss or bakers twine.  Just thread your needle and go down  at the edge of the stitching in the first figure and up through the edge of the stitching of the second figure.  Tie a bow or a knot and then keep repeating until the entire line is sewn together.


Or, you can do like I have done in the example and sew them to a ribbon.  Simply lay the first figure onto the  ribbon, about 12" in from the end for hanging, and then stitch 4-5 stitches along the top of the figure securing it in place.  I like to stitch, and then backstitch  and then stitch, and then backstitch so that I know it's not going anywhere.  Space the next figure with about an 1" between the first one and stitch it in place.  Repeat until you have added all of the figures.


And that is it!!  Now just find a fun place to hang it and enjoy!!


I hope you have enjoyed this tutorial.  If you make your own Easter Bunting I would love to see it.  You can add it to my Inspired by Happy Quilting Flickr Group here ;)   And I am linking up this finish to Amanda's :)

Thank you so much to Melissa of Lilac Lane for having me as a designer for her Easter Bunny Blog Hop.  It was such a fun project to put together!!  And thanks to Fave Crafts for having me as part of their hop!


And last, but certainly not least, what would a blog hop be without a Giveaway??

GIVEAWAY CLOSED - Leave a comment telling me your favorite color to dye Easter Eggs and you will be entered to win your choice of 3 of my patterns.  


I will choose 3 winners on Sunday, the 10th :)  One comment per person please and international entries are welcome :)

Have a Hoppy Quilting Day!!!


Pin It!

Wednesday, March 6, 2013

The Scarlet Thread Quilt Co. - A New Sponsor & Giveaway

I am so excited to welcome  The Scarlet Thread Quilt Co. as  Happy Quilting's newest sponsor!!!   Julie Boldry, owner and operator, opened The Scarlet Thread Quilt Co. just under a year ago!!


I asked Julie to tell me a bit about what got her started in her quilting journey.  This is her story in her words :)

 I have always loved fabric and enjoyed making things.  I remember spending hours at the fabric store as a child while mom picked out our next outfit. I had always been around quilts as my great-grandmother quilted, but they were more of a utility item not a treasure.  As a teenager, I desperately wanted a comforter from the store instead of the quilts on my bed!
     So, in my need to be creative, I tried lots of outlets...calligraphy, paper crafts, embroidery, knitting (that ended badly!) , the list goes on and on.  So, when some friends invited me to their quilting day, I wasn't too sure.  I went, reluctant about quilting, but looking forward to a day with friends.  My third daughter was 14 months old and I needed some grown-up time. ;)  After that one day, I was hooked!  Long story short, The Scarlet Thread Quilt Co. was born!  I opened my long-arm business in Spring 2008, started designing patterns in 2010, and expanded into fabric sales in April of 2012.  (Apparently, i get very inspired to start new things in the springtime!) 

 The tag line for The Scalet Thread Quilt Co. is: where modern and traditional meet.  Julie says that means a couple things.  First, it means they sell modern fabrics for a traditional craft like quilting/sewing.   Well that is for sure.  A few examples .

How about some of this Amy Butler, Gypsy Caravan Fat Quarters. So pretty :)

Or this stunning Lime and Aqua collection that Julie put together.  Love It!!!

And seriously, who doesn't love a little Flea Market Fancy??

The second thing Julie says where modern and traditional meet means is that she offers modern services in a traditional way.  She sells via the internet and ship orders all over the world, hence the modern part.  But she does it in a traditional way, with excellent customer service and treats people how they want to be treated.  And I couldn't agree with this more.  It is so nice to find shops that still put so much value on wonderful customer service.  
       
Thank you to Julie and The Scarlet Thread Quilt Co. !!!   I am so happy to have them as a part of the  Happy Quilting Family!!! 


And as part of their welcome debut . . .  The Scarlet Thread Quilt Co. is giving away a $25.00 Gift Card to one lucky winner!!!  


You have three chances to win, please leave a separate comment for each.  And since The Scarlet Thread Quilt Co. is a brand new sponsor here, I thought it might be nice for your entries to allow you to get acquainted :)

1 - Visit The Scarlet Thread Quilt Co. shop and leave a comment of what item you might want to use your $25.00 Gift Certificate on.

2 - Subscribe to The Scarlet Thread Quilt Co. blog and leave a comment that you did so. 

3 - Like The Scarlet Thread Quilt Co. on Facebook and leave a comment that you did so.

So that's it :) The giveaway will close on Sunday Mar 10th and I will announce a winner shortly after.     Good Luck to all and Happy Quilting!!!
Pin It!

Tuesday, March 5, 2013

Spin-Off, Squeal!!

I am so excited to finally get to share a secret project that I did last December.  It is so hard to keep these on the down and low, really, I have never been that good at keeping secrets.  So without any more delay, here's  Spin-Off!!!


Last November, my Shabby Spin block was  in Vol.6 of Quiltmaker's 100 Blocks.  This is such a fun versatile block and I immediately started coming up with lots of variations on how to "spin" it.


And that is how Spin-Off came to be.  Blocks are spun in different ways and more color added to create a fabulous secondary design and a whole lot of movement.  And I am just pleased as punch with how it turned out.   I can't wait for it to come home so I can snuggle up with it  :)  The fabrics are Modern Shadows and Color Weave from P&B Textiles.


(And I apologize, somehow I managed to send this quilt off to the publisher's without taking any pictures of it, I was right at the holidays and apparently I was functioning on half a brain.  So, these are just shots from my copy of the magazine, totally lame, but it's all I got.)

The quilting was done by the fabulous Natalia Bonner.  She did a fun retro design in the center that so goes with the feel of the quilt and a repeat square design in the border.


So . . . How about a chance to win your own copy of Quilts from 100 Blocks.  Pop on over to Quiltmaker's blog for a chance to win!!!    And if you don't win it's okay, this issue is now available for purchase wherever quilt magazines are sold ;)


_I'mFeatured-QuiltsfromSpr13-button

Pin It!

Monday, March 4, 2013

Starburst Parade and Grand Prize Winners!!

We have reached the Finale of the Starburst Quilt-A-Long and  WOW!!!  This has been such a fantastic quilt-a-long and I am just so excited about all of the amazing finishes.  I have to say, I squealed last night when the 50th link was emailed to me.  And then they just kept coming :)   I am just blown away, you guys are the greatest!!   And to read your wonderful stories of trying new techniques, learning little tidbits, having this be your first quilt-a-long, or even having this be your first ever quilt, I can't tell you how much that makes me smile!!


So . . .  how about some finishes.  Let's get to them!!    To see all of the completed quilt tops you can see the links at the bottom of this post or check them out in the Happy Quilt-A-Long Flickr Group.  And seriously, check them out, they are amazing!!

Today, the Starburst Parade is of those quilt tops that were also quilted and bound.  No work in progress for these ladies, their quilts are ready to be loved!!  And they are from all over the world!!  So fun :)


Aren't they just stunning!!   Be sure to click on each and read about these wonderful finishes :)     Enjoy your beautiful Starburst quilts ladies, and thank you so much for sharing them with all of us!!  

And now to finish off . . .  we need to pick some winners!!!  

A huge Thank You goes out to Julie at The Intrepid Thread for sponsoring our Grand Prize Giveaway's!!!  All those that have linked up their quilt top all eligible for the grand prize!!  There will be three grand prize winners and each will receive . . . 


A $75.00 Gift Certificate that you can spend as you like!!


I know I would love to win an Intrepid Thread Shopping Spree I am sure you all feel the same.

So, lets get to it!!   Drumroll Please . . . . . . .

******The First Grand Prize Winner is . . .


******The Second Grand Prize Winner is . . .


******And the Third and Final Grand Prize Winner is . . . .


Congrats Ladies!!!  Enjoy your shopping spree!!

Thank you to all of you who participated in the Starburst Quilt-A-Long!!!  I can't begin to explain how much I love having so many wonderful friends quilt-a-long with me!!  I had a wonderful time hosting and  I hope you had a wonderful time quilting-along!!!

Now to start thinking up a new Quilt-A-Long :)  Until next time . . . Happy Quilting!!!


Pin It!

Saturday, March 2, 2013

Finish Up those Starburst :)

Can I just say, you guys blow me away!!!  There are over 50 Starburst Quilt Tops done!!  Yippee Skippee!!  I just keep looking over them all!!  They are all so beautiful!!


So this is your last call reminder!!  There are 2 days left, well the rest of today and tomorrow :)  The Grand Prize Winners and Parade will be on Monday Morning!!  So whatever stage you are at, try and get some weekend sewing time to finish on up :)  

For the Grand Prize Entry you need to finish piecing your quilt top together and then link a picture of it at the bottom of this post.  

To be in the Parade you need to quilt and bind your quilt top and then email me a picture with your deets (name, location, and flickr of blog link) to happyquiltingmelissa@gmail.com.   It is sure to be a grand parade as I have already received lots of stunning pictures!!


And last but not least, I have to admit some news that I am feeling pretty guilty about but it can't be helped so I am just going to admit it and move on.  My quilt will not be ready for the parade, and I am super bummed about it.  I am sorry.  Here's the story . . . 

Remember how I planned to go rent time on a long arm this Monday.  Well I scheduled that time without really thinking ahead.  Ya, that whole being gone for 9 days to Hawaii and returning Sunday night . . . Not the best combo for leaving the very next morning.  I was so tired from the time change, sore from the flight, and most importantly, there was no way my baby and 3 year old would have been okay with Mommy leaving all day.  I underestimated the missing mommy factor.  They were clung to me all day Monday.  (Which I have to admit, was pretty nice.  I always love it when they want to snuggle :)  So ya, the Long Arm trip got cancelled.  Then I thought about doing it on my home machine, but I  had 2 secret projects (that took longer than expected, they always do)  that had to be finished and mailed by today.  Long story short, my quilt top and back are still folded in the corner of my sewing room. Le sigh!!   But I promise, I will get them done.  I am actually teaching a class on this quilt in June so I have that deadline to keep me honest :)


With that . . . I leave you with a Happy Sewing Starburst cheer!!  I am off to work on the parade ;)  So excited!!!  


Pin It!