Wednesday, March 8, 2023

BOHO Heart Block of the Month - Month 10

  It's Month 9 with my good friends at Stitchin' Heaven  doing their BOHO Heart Monthly Block of the Month program and that means another month of fun tutorials!!

Month 1                Month 2               Month 3             Month 4            Month 5               Month 6

Month 7                Month 8               Month 9            Month 10           Month 11              Month 12

And since each month has Lots and Lots of Tutorials in them . . . Here is a list to jump right to the tutorial you need for this month 10:  

Mini Circle Block                      Square in a Square Block                Four Patch Block

Flying Geese Block                   Courthouse Steps Block                  Churn Dash Block

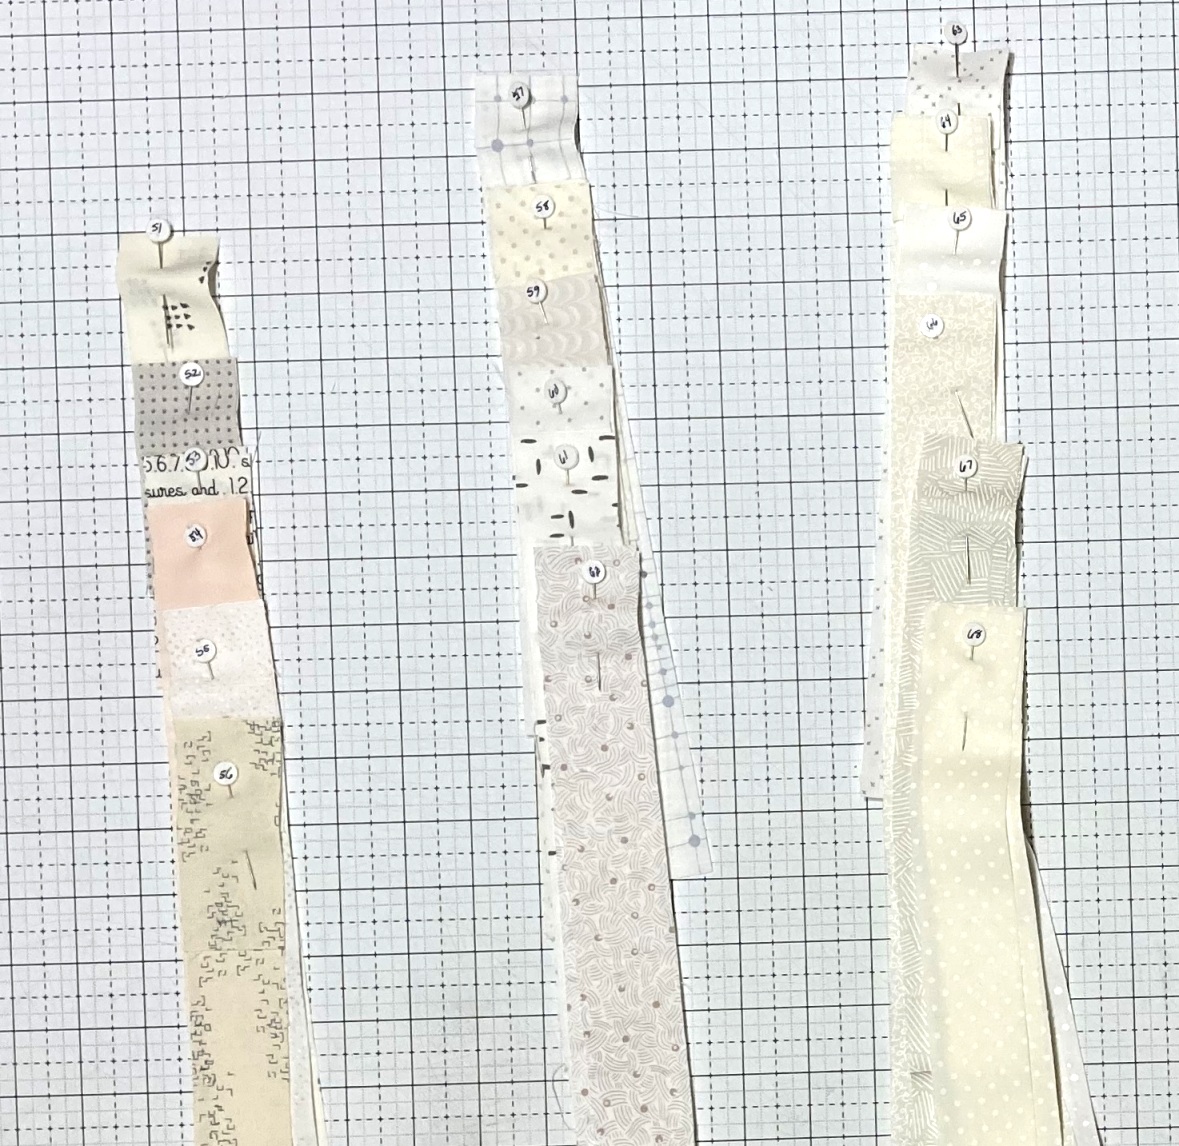
Centered Dresden Block            Cutting Background Strips              Sewing Section 1


So you have your Month 10 BOHO Heart Packet . . .  Lets get started!!! 

We'll this month, we are going to start out with some applique while making the . . .


From your Month #10, Mini Circle Bag, cut the fabrics according to page 1 of the supplemental cutting list and using the Mini Circle template.     


Using the cut pieces and the Mini Circle Directions from Month 1 make your blocks.    The Mini Circle Blocks should be measuring 2 1/2" x 2 1/2" unfinished. 


And now onto another familiar small block with the . . . 


From your Month #10, Square in a Square bag, cut the fabrics according to page 1 of the supplemental cutting list. 


Using the cut pieces and the Square in a Square Block Directions from Month 1 make your block.   The Square in a Square Block should be measuring 2 1/2" x 2 1/2" unfinished.   


And with that done, we will move onto another small block , the . . .


From your Month #10, Four Patch Bag, cut the fabrics according to page 2 of the supplemental cutting list.   


Using the cut pieces and the Four Patch Block Directions from Month 2 make your block.    The Four Patch Block should be measuring 2 1/2" x 2 1/2" unfinished.   


And now we are going to make a familiar block with a slight modification, the . . . 


From your Month #10, Flying Geese bag, cut the fabrics according to page 1 of the supplemental cutting list. 


Using the cut pieces and the Flying Geese Block Directions from Month 4make 2 Flying Geese Blocks that will now be Flying Geese Units. Layout the 2 Flying Geese Units as shown.


Place the bottom unit onto the top unit with right sides together.   Align and pin if desired.   Stitch a 1/4" seam along the edge of the units, taking care to stitch directly through the center of the Thread X.  


And your Block is done and you have a Flying Geese Block that should measure 4 1/2" x 8 1/2" unfinished.  


And once again, we are going to make a familiar block with a slight modification, the . . . 


From your Month #10, Courthouse Steps bag, cut the fabrics according to page 2 of the supplemental cutting list.   


Using the cut pieces and the Courthouse Steps Block Directions from Month 5, and noting that you will stop after adding 2 complete borders to the center square, make your block.    The Courthouse Steps Block should be measuring 6 1/2" x 6 1/2" unfinished.   


And now, another familiar favorite, the . . .

Churn Dash Block


From your Month #10, Churn Dash bag, cut the fabrics according to page 1 of the supplemental cutting list.   I cut my squares 3" instead of the 2.875" and will trim. 


Using the cut pieces and the Churn Dash Block Directions from Month 1 make your block.   The Churn Dash Block measuring 6 1/2" x 6 1/2" unfinished.  


And for our last block, another familiar block with a slight modification, the . . . 


From your Month #10, Centered Dresden Square bag, cut the fabrics according to page 1 of the supplemental cutting list and using the Centered Dresden Square template and the 3" circle template. 


Using the cut pieces and the Dresden Square Block Directions from Month 3make the Dresden Unit to the point of trimming taking care to note the fabric placement. Layout the Dresden Unit as shown.


And all that is left, is to trim the block to an 8 1/2" Square that is centered.  To do this, Use a large square ruler (mine is 8 1/2").  Align the ruler so the center lines on the ruler (4 1/4") are aligned with the seam lines of the top and bottom and two side Dresden Plates.    Once your ruler is aligned, trim along the right hand side, and top of the ruler.  


Now rotate the block 180 degrees on your cutting mat.  Align the ruler on the Dresden Unit so that the 8 1/2" lines are along the edges you just cut.   Once aligned, again, trim along the right hand side, and top of the ruler.   


And just like that, you have an Offset Square Dresden Block that should measure 8 1/2" x 8 1/2" unfinished.


And now all your Blocks are made and that means it is time to start putting them together, but first, we are going to need some more of those Low Volume Background strips!!

Cutting Background Strips

Start by pressing all of your Low Volume Background pieces.  
From the Low Volume Strips sent with your Month #10 package, cut the fabrics according to page 2 and 3 of the supplemental cutting list.  
Just like Month 1 & Month 4, and Month 7, There is no right or wrong order to number your strips, you can do your low volume strips in any order you like, just make sure that you leave some of the larger strips for the last strips as you will need 3 strips to complete the cutting for 67 & 68.  
Also, most importantly, once you have cut all the pieces from one fabric, take care to keep them together and marked with the Number of that vertical row/fabric.  You are cutting the strips for Month 10,11 and 12 so you will be keeping these grouped and marked for some time.  


Background Strips for Grey Holes / Optional Gold Fillers-  And some more cutting.  Here is what you need to cut and group with the fabrics above to continue "piecing" the Grey Holes from the low volume strips like we have done, as well as the Grey Holes that you can choose to replace with Gold Fillers if you choose.  

Grey Holes
Fabric 51 - (1) 1 1/2" x 6 1/2" and (1) 1 1/2" x 2 1/2"
Fabric 52 - (1) 1 1/2" x 6 1/2" and (1) 1 1/2" x 2 1/2"
Fabric 53 - (1) 1 1/2" x 2 1/2"
Fabric 54 - (1) 1 1/2" x 2 1/2"
Fabric 55 - (1) 1 1/2" x 2 1/2"
Fabric 56 - (1) 1 1/2" x 2 1/2"
Fabric 57 - (1) 1 1/2" x 6 1/2"
Fabric 58 - (1) 1 1/2" x 6 1/2"

Optional Gold Filler or
Fabric 61 - (1) 1 1/2" x 2 1/2"
Fabric 62 - (1) 1 1/2" x 2 1/2"
Fabric 63 - (1) 1 1/2" x 2 1/2"
Fabric 64 - (1) 1 1/2" x 2 1/2"


And now with all your Background Pieces cut, you can start  . . . 

Sewing Section 1


We will start by sewing some Strip Sets together.   For all of these strip sets, press the seam allowance to the Larger Number fabric.   Also, I found it very helpful to leave my extra pieces of marked background fabric to the side of my piecing so it can be used as a guide. 

From Fabric 51, 52, 53, and 54 sew a 3 1/2" Strip Set together as shown.
From Fabric 55 and 56 sew a 3 1/2" Strip Set together as shown. 
           (Note - Don't sew these with the above strips as I have shown, I just had to unpick them later ;) 
From Fabric 57, 58, 59,  and 60 sew a 5 1/2" Strip Set together as shown.
From Fabric 61 and 62 sew a 9 1/2" Strip Set together as shown.
From Fabric 63 and 64 sew a 11 1/2" Strip Set together as shown.
From Fabric 65 and 66 sew a 17 1/2" Strip Set together as shown.
From Fabric 67 and 68 sew a 19 1/2" Strip Set together as shown.


And last but not least, we need to piece your Optional Strip Set or cut your Gold Filler.
From Fabric 61, 22, 63, and 64 sew a 2 1/2" Strip Set together as shown
              OR
Cut a 2 1/2" x 4 1/2" Gold Square from the provided fabric.


 Now we will sew Blocks and Strip Sets.   For all of these, press the Seams Open.   And still, the guide is very helpful to keep handy and make sure you are always putting the Blocks at the bottom of the Strip Sets. 

Sew the 51/52/53/54 Strip Set and the Flying Geese Block together as shown.
Sew the 55/26 Strip Set and the Four Patch Block together as shown.
Sew the 61/62 Strip Set and the Green Mini Circle Block together as shown.
Sew the 61/62/63/64 Strip Set and the Pink Mini Circle Block together as shown.
Sew the 65/66 Strip Set and the Square in a Square Block together as shown.  


Sew the Sashed Circle Unit and the 63/64 Strip Set together as shown.
Sew the Sashed Four Unit and the 57/58/29/60 Strip Set together as shown.
Sew the Churn Dash Block and the Sashed Pink Circle Unit together as shown.  
Sew the Sashed Square Unit and the 67/68 Strip Set together as shown.

Press the Seams Open. 


Sew the Sashed Four Patch Unit and the Courthouse Steps Block together as shown.
Sew the Centered Dresden Square Block and the Churn Circle Unit together as shown.

Press the Seams Open. 


Sew the Flying Geese Unit to the Left Hand Side of the Sashed Four Courthouse Unit as shown.
Then, Sew the Sashed Mini Circle Unit to the Right Hand Side of the Sashed Four Courthouse Unit as shown.  

Press the Seam Open. 


Sew the Sashed Flying Four Courthouse Circle Unit and the Sashed Dresden Churn Circle Unit together as shown.  

Press the Seam Open

Sew the Sashed Flying Four Courthouse Circles Dresden Churn Dash Unit and the Sashed Square in a Square Unit together as shown. 

Press the Seam Open


And your Group 4 - Section 1 is complete.  It should measure 18 1/2" wide by 19 1/2" high.


And that is it for BOHO Heart Block of the Month, Month 10 :) 

If you have any questions on this tutorial, please don't hesitate to email me at happyquiltingmelissa@gmail.com or leave a comment.  

Hope you have so much fun making all of this months blocks and then sewing them all together:)

 Looking forward to Next Month!!  We are getting so close ;) 

Pin It!

0 comments:

Post a Comment

Thank you so much for your sweet comments. I just love hearing from you!!
Have a Happy Quilting Day :)

Melissa