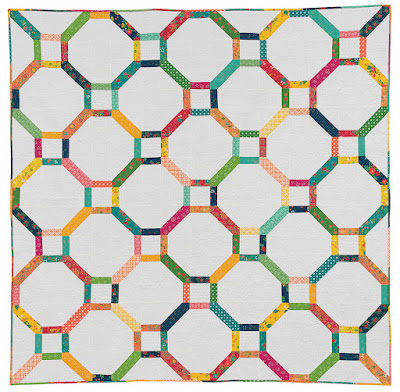
It's Week 6 of my Fast & Fun Lap Quilts Book Tour and today I am sharing the Merry-Go-Round quilt! This quilt is made up of one basic lattice unit and then some sashing. I love making no-waste lattice blocks! They are so fast and fun to make and with the quick trim, they come out absolutely perfect every time. And this quilt has a whole lot of negative space, so you can really have some fun quilting it!!
Here is the introduction I wrote about Merry-Go-Round in the
Fast & Fun Lap Quilts Book. "It' so fun to play with interlocking units when designing quilts. here I experimented with no-waste lattice units to create a honeycomb effect. When the quilt was finished, it was so bright and happy it felt more like a playground than a honeycomb; thus, the name of Merry-Go-Round. Oh, and if you've never made no-waste lattice units before, you're gong to have fun making this quilt!"
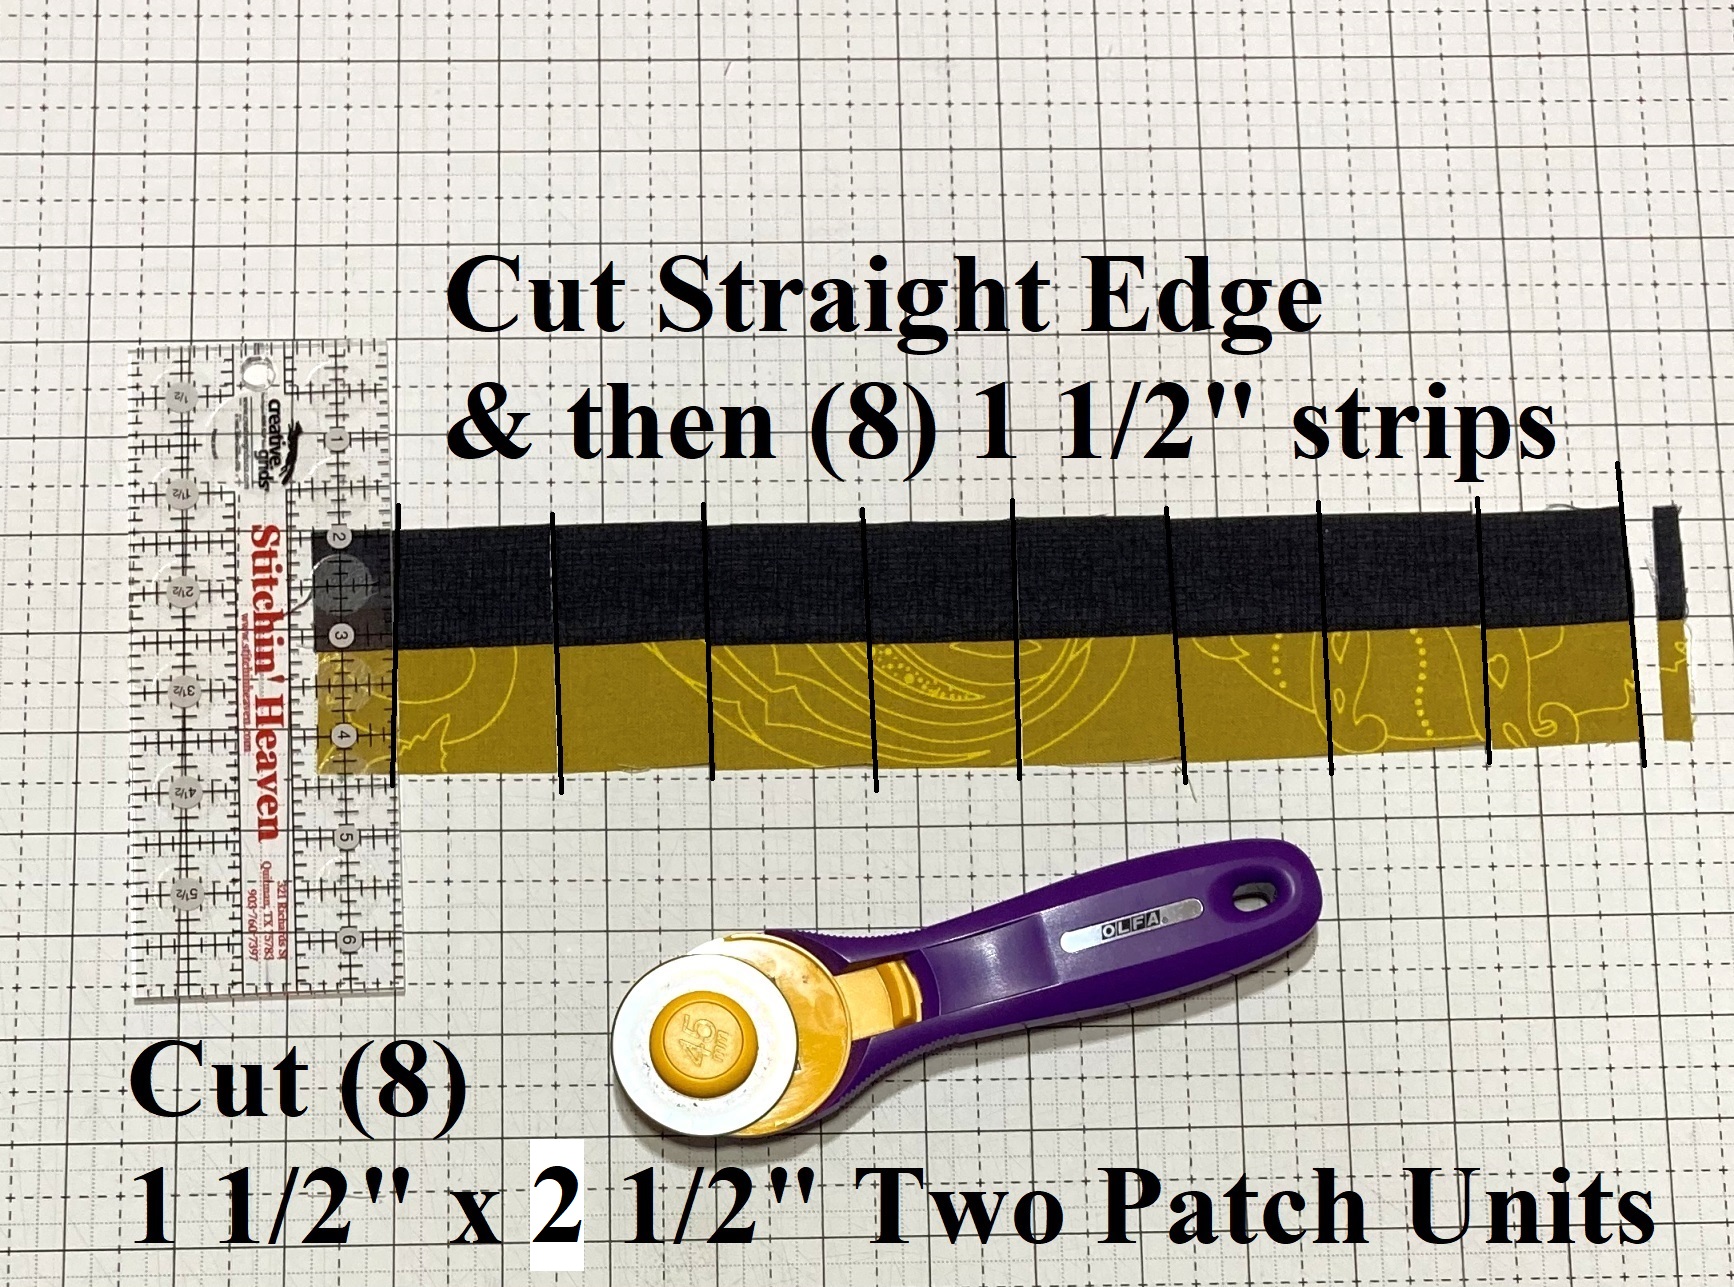
When writing this book, I tried to give you all of the tips and trick that I would share if I were teaching a quilting class. This is my favorite tip from the Merry-Go-Round quilt. I love using washi tape to mark my rulers, it truly is the best for easy marks, that can be removed with no residue. And having the right ruler for the job is always a great way to make things fast and fun. I have a wall of rulers and I just love always being able to grab just the size I need, but ya, 6 1/2" square is my all time favorite :)
Merry-Go-Round was made using
Indigo Garden fabrics by
Heather Peterson for
Riley Blake Designs. All the quilts in Fast and Fun Lap Quilts are made with 1
Layer Cake/10" Stacker and a background fabric. You will use 41 of the 10" squares for this quilt so you really use up just about every last piece. This quilt finishes at 76 1/2" x 76 1/2", making it a generous square lap size quilt perfect for snuggling up in.
I had so much fun custom quilting each of the quilts in Fast & Fun Lap Quilts . For this Merry-Go-Round quilt, I quilted echoed paisleys in the background, straight lines in the piecing, and pebbles in the small background squares. I just love filling up so much negative space with gorgeous flowing quilting. And you know I used 402 So Fine thread to blend perfectly into the white background and all of the prints. What can I say, it's my favorite thread :)
And that is my Merry-Go-Round quilt, the sixth lap quilt in my new
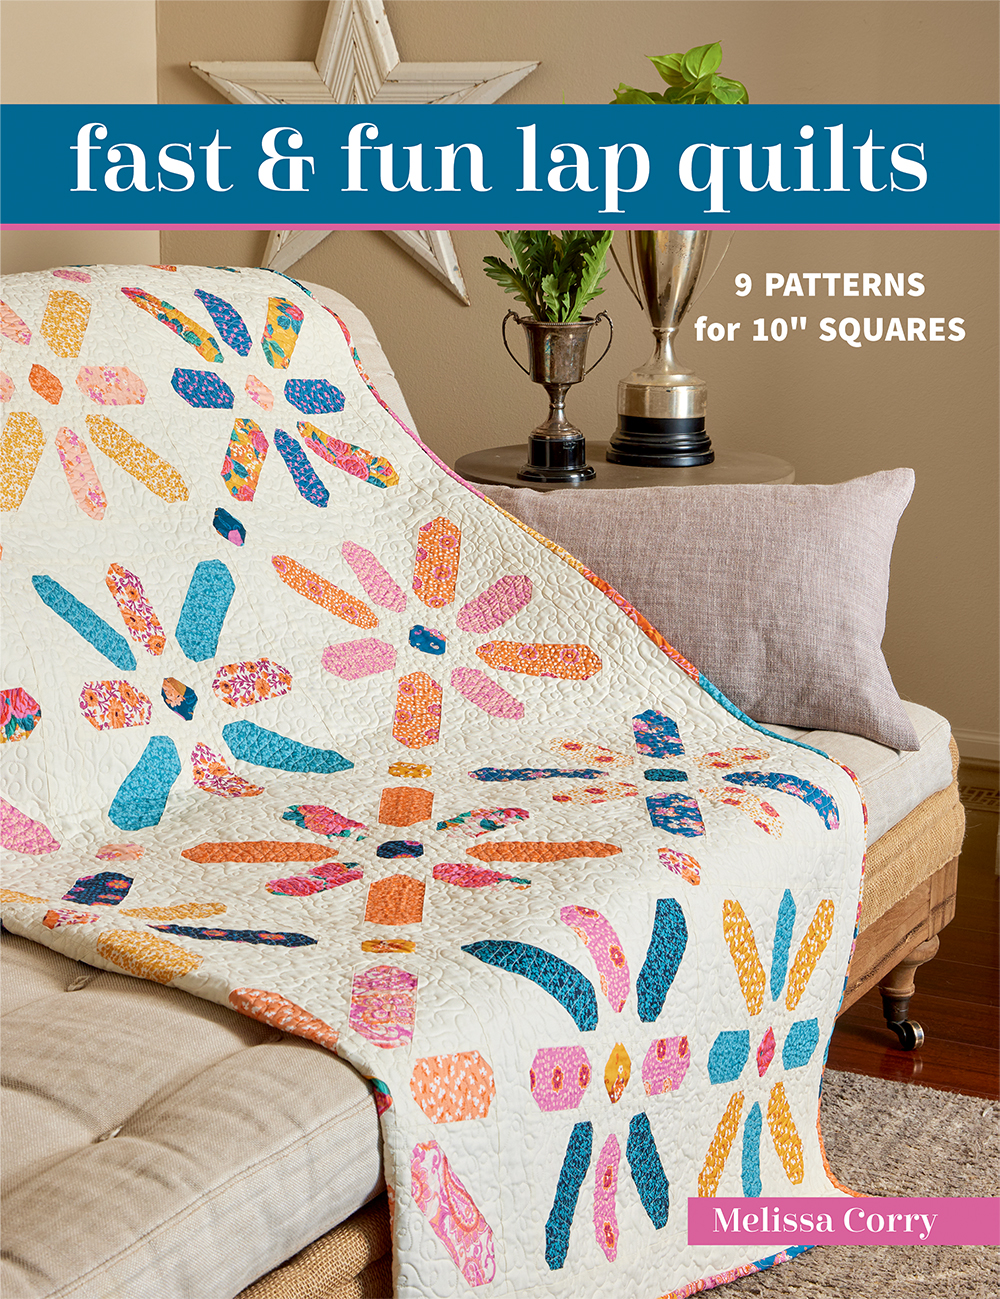
Fast & Fun Lap Quilts book ! You can find the Fast & Fun Lap Quilts book in your local or online quilt shops,
C&T Publishing, or if you would like a
personalized signed copy, you can order from my Etsy shop. And if you make your own Merry-Go-Round quilt, I would love to see it!! You can share your quilts with me on social media using hashtag #happyquiltingwithmc and #fastandfunlapquilts and tag me @happyquiltingmc or you can email me a picture at happyquiltingmelissa@gmail.com.
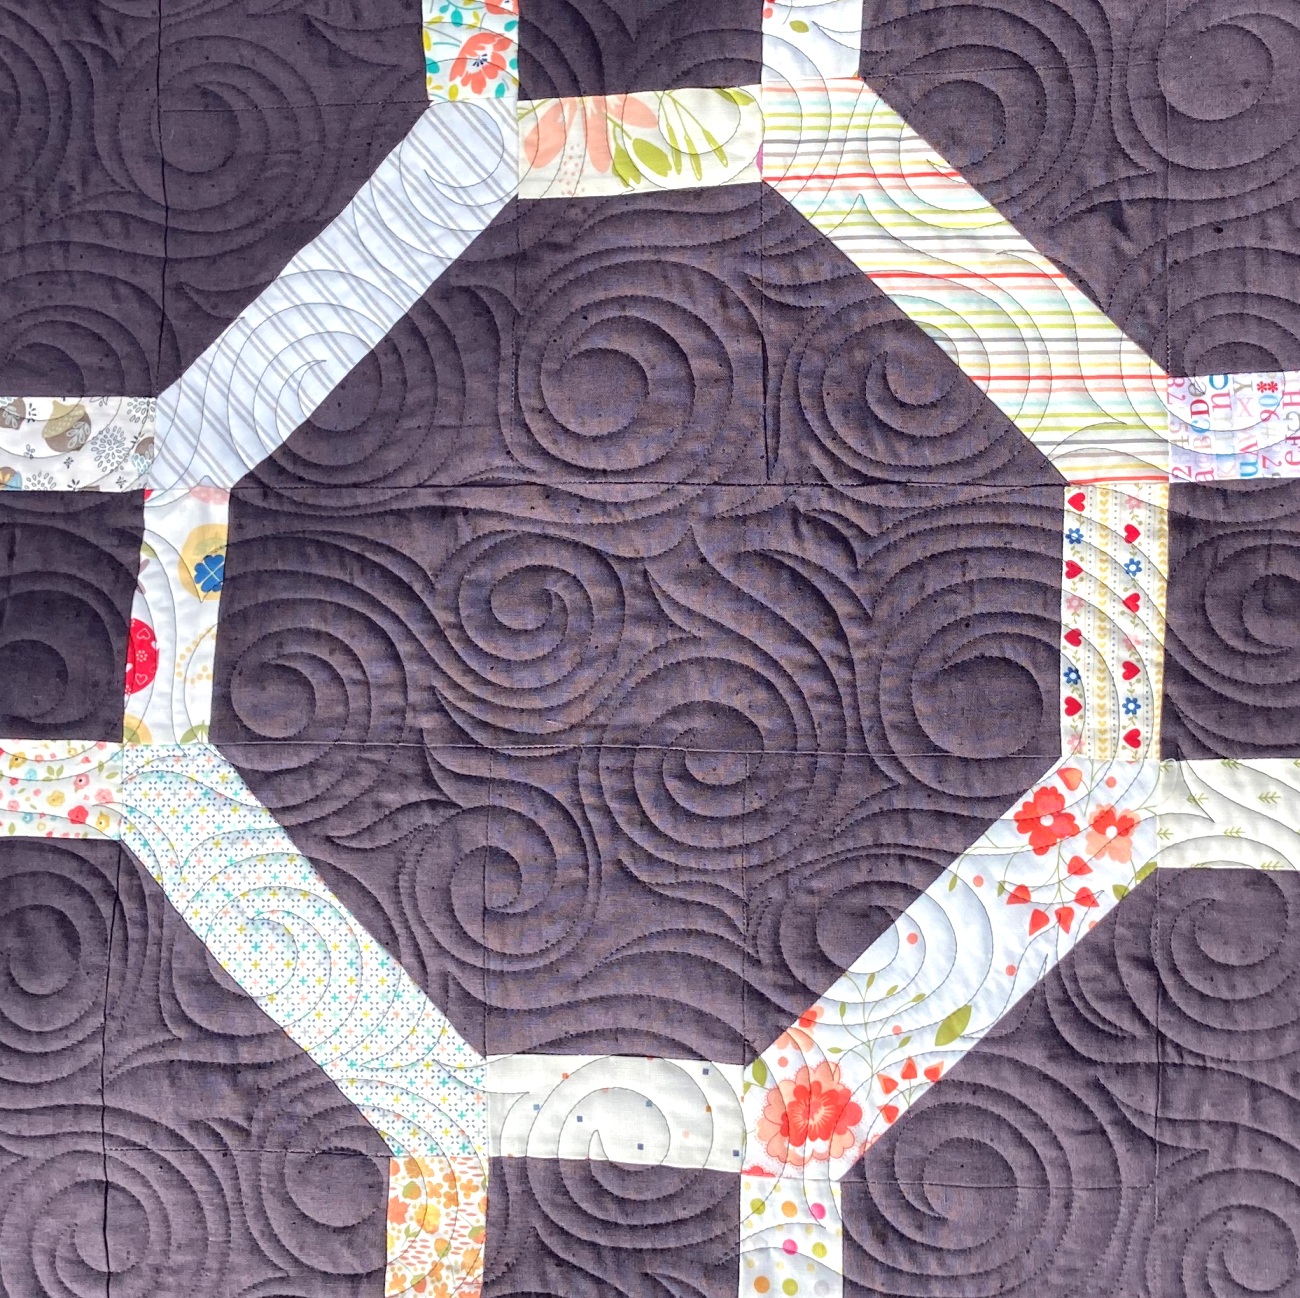
And speaking of making a Merry-Go-Round Quilt, my good friend,
Jen Belnap has made up her own Merry-Go-Round Quilt using one of my favorite textured fabrics. I am so super excited that Moda is now making
Layer Cakes of their gorgeous Cross Weave fabrics!! These will be coming to shops soon, and if you haven't tried
Cross Weave, I highly recommend them. The warp and weft threads are a different color so when they are woven together they create a shimmery effect that is just so pretty!! And as you can see from Jen's quilt, it makes an absolutely stunning finish!!! You can see all the details at Jen's Instagram,
The Smitten Chicken.
I am just so happy to share this merry-Go-Round quilt and be sure to pop back in on Friday when I will share a second version of the quilt.
I hope you all have a very Happy Quilting Day!


