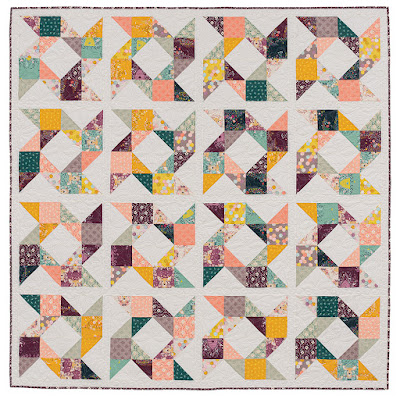
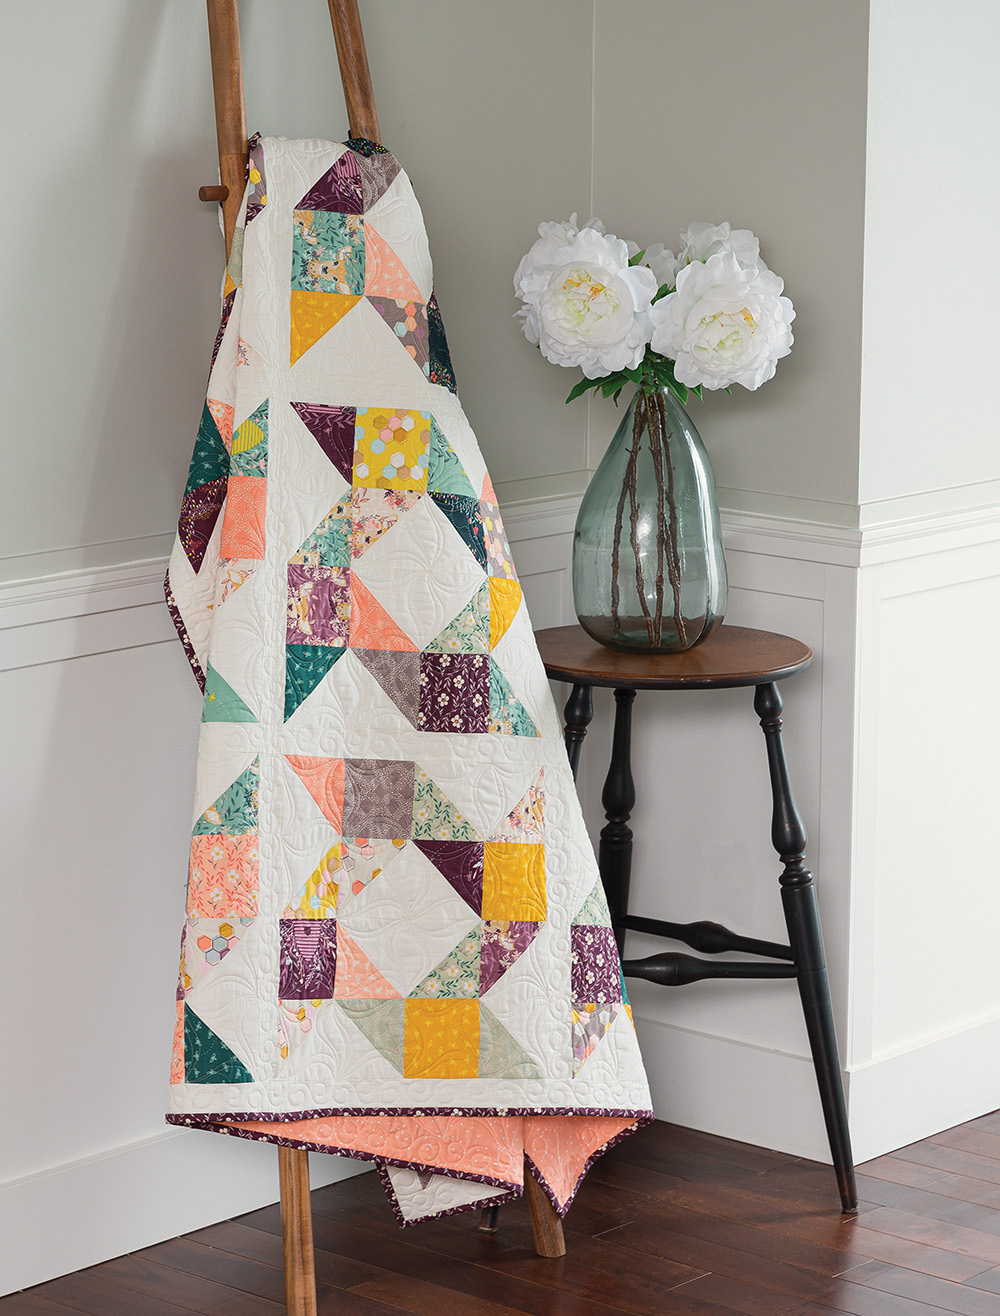
It's Week 5 of my Fast & Fun Lap Quilts Book Tour and today I am sharing the Dutch Days quilt! This quilt is made up of one large block, and believe it or not, there are Zero half square triangles in this quilt. I always love it when a quilt block looks harder than it actually is. This one is quickly becoming a go-to quilt in a pinch because it truly is super fast, and super fun!!
Here is the introduction I wrote about Dutch Days in the
Fast & Fun Lap Quilts Book. "Dutch Days reminds me of windmills blowing in large fields of tulips which is how the quilt got its name. I purposely chose fabrics with colors reminiscent of tulip fields. Using the no-waste method for the flying-geese units makes this quilt super fast to piece, and mixing the prints in the units gives it a scrappy look without too much effort. It's a wonderful quilt to whip up for any special occasion"
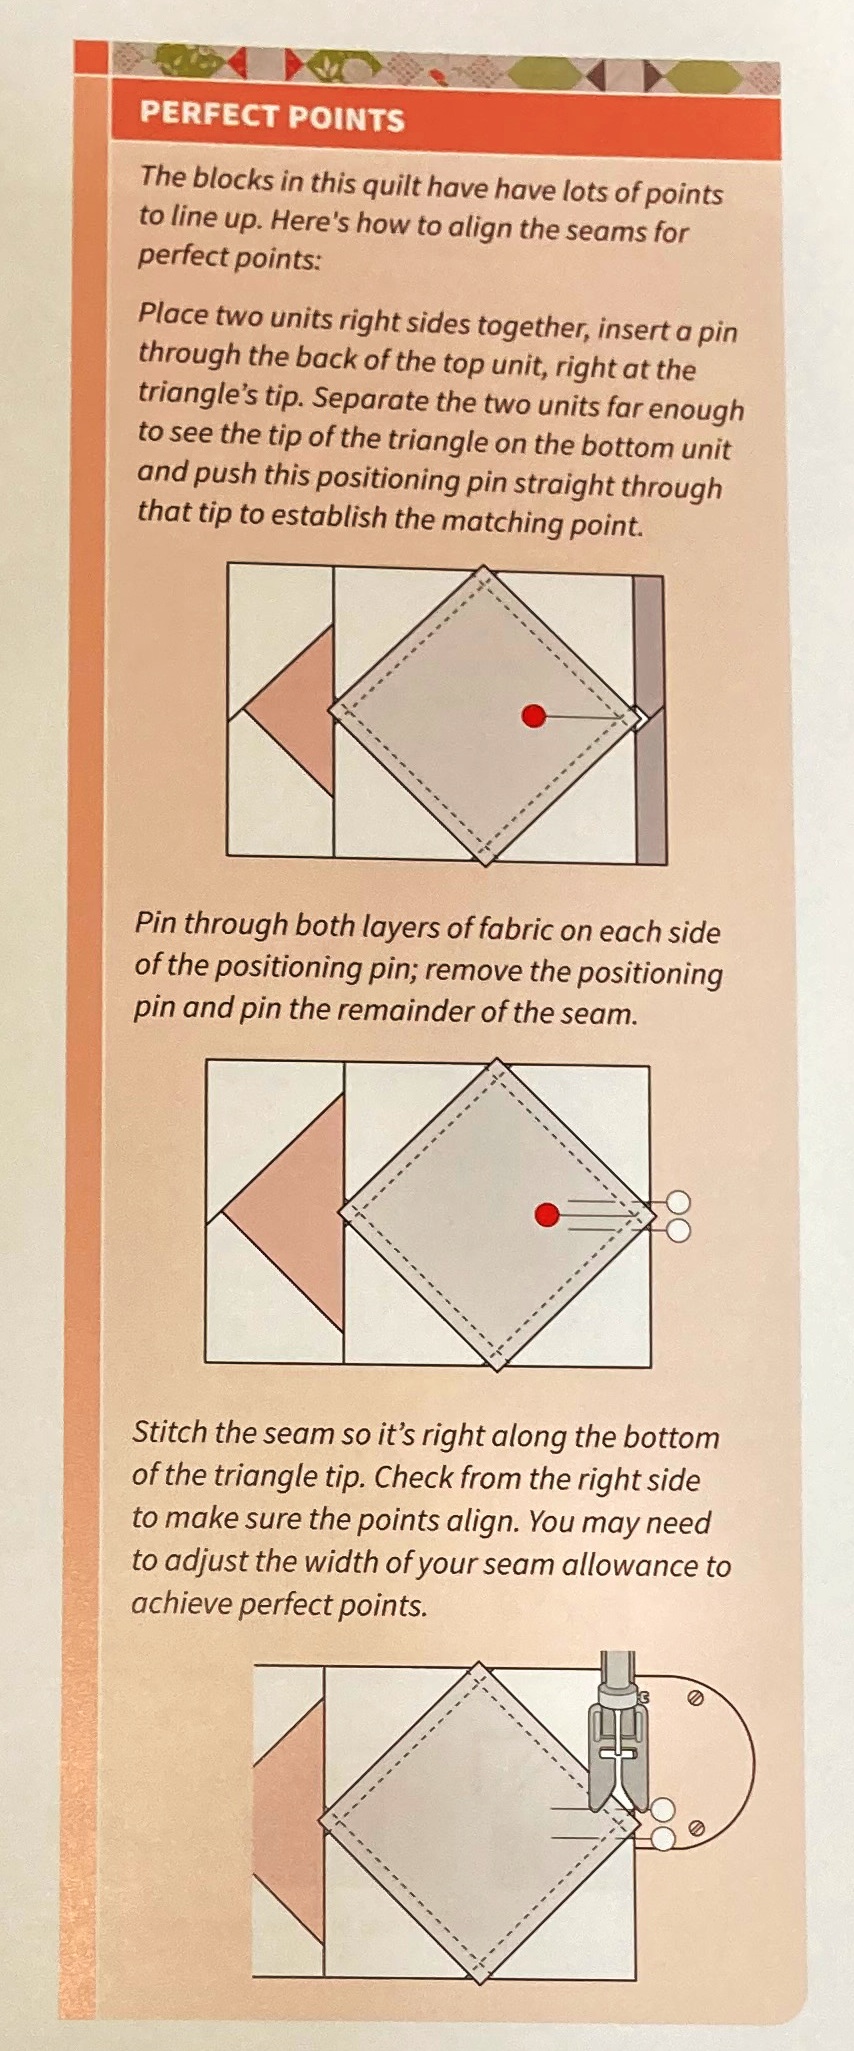
When writing this book, I tried to give you all of the tips and trick that I would share if I were teaching a quilting class. This is my favorite tip from the Dutch Days quilt. It is as simple as taking a picture, but if you have never tried it, you will find it makes all the difference in laying out your blocks. And you can also look at the image in black and white to check that your lights and darks are balanced as well :)
Dutch Days was made using
Harmony fabrics by
Melissa Lee for
Riley Blake Designs. All the quilts in Fast and Fun Lap Quilts are made with 1
Layer Cake/10" Stacker and a background fabric. You will use 40 of the 10" squares for this quilt so you really use up just about every last piece. This quilt finishes at 72" x 72", making it a generous square lap size quilt.
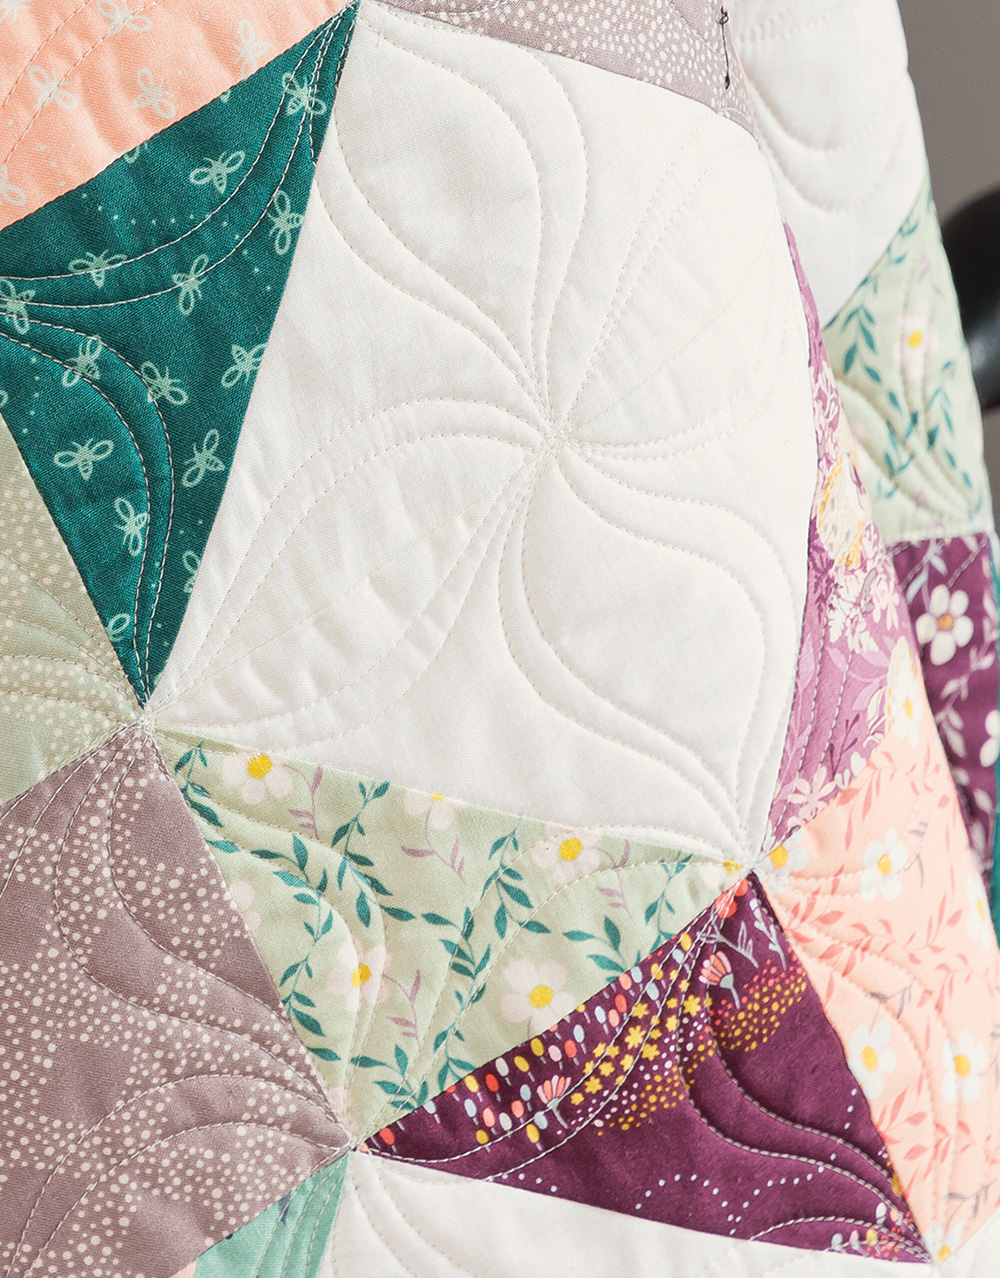
I had so much fun custom quilting each of the quilts in Fast & Fun Lap Quilts . For this Dutch Days quilt, I quilted curly q's in the sashing and echoed wavy arches in the blocks. Whenever I have a block with gridlines that are perfectly symmetrical, I always love to use the wavy arch. It is so fun and fast to quilt and I just love getting the cool wavy orange peel look without having to use rulers. And as is the trend with the quilts in this book, I used 402 So Fine thread to blend perfectly into the white background and all of the prints. I just love how it all came together.
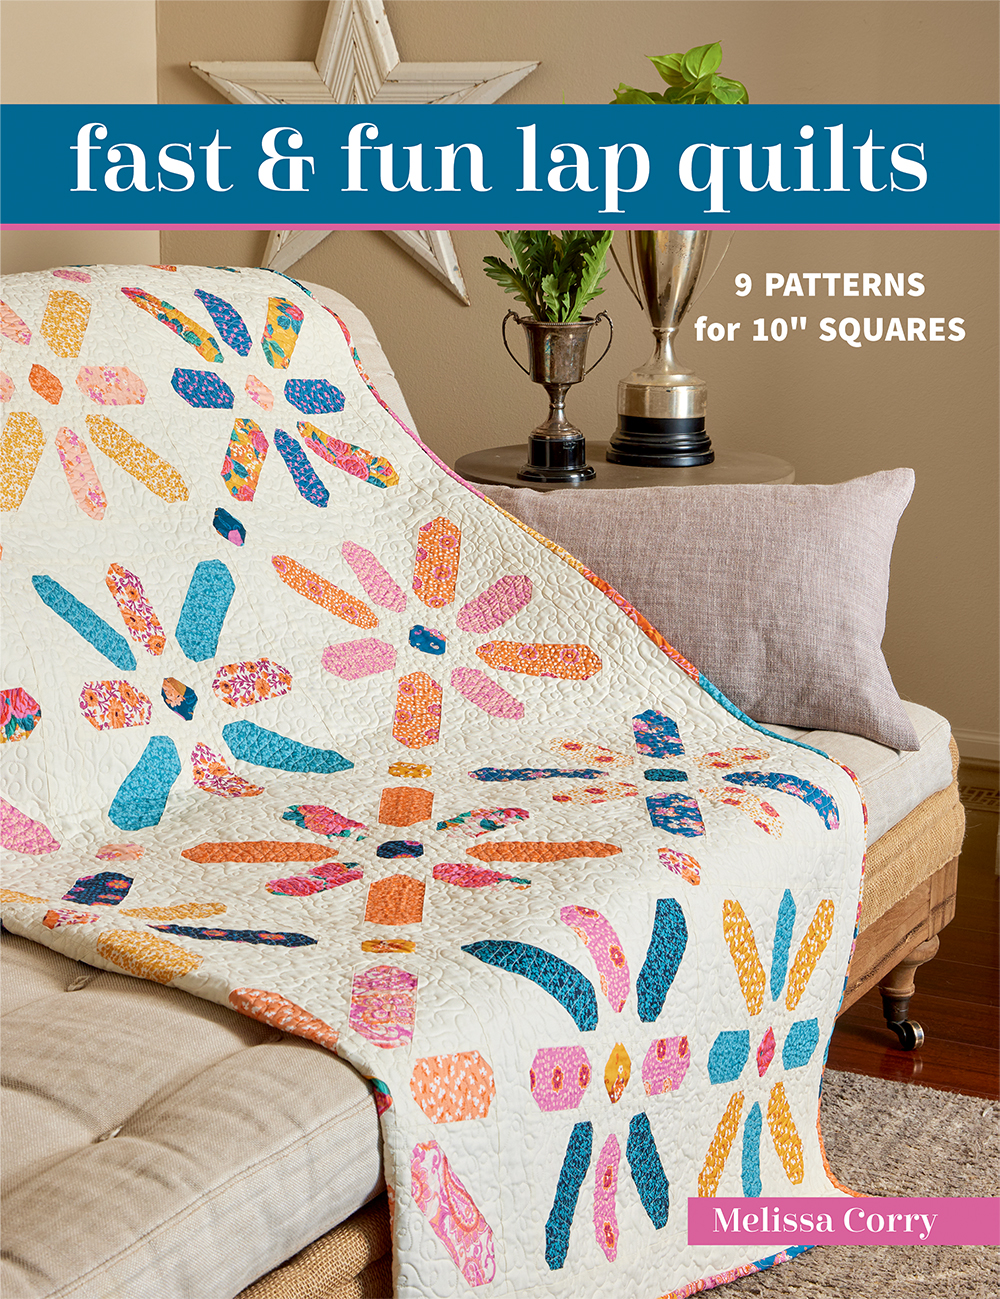
And that is my Dutch Days quilt, the fifth lap quilt in my new
Fast & Fun Lap Quilts book ! You can find the Fast & Fun Lap Quilts book in your local or online quilt shops,
C&T Publishing, or if you would like a
personalized signed copy, you can order from my Etsy shop. And if you make your own Dutch Days quilt, I would love to see it!! You can share your quilts with me on social media using hashtag #happyquiltingwithmc and #fastandfunlapquilts and tag me @happyquiltingmc or you can email me a picture at happyquiltingmelissa@gmail.com.
And speaking of making a Dutch Days Quilt, my good friend,
Andy Knowlton has whipped up her own Dutch Days Quilt using one of my favorite new fabrics that releases this December. Isn't this just gorgeous in
Songbook A New Page by
Fancy That Design House. Isn't that just so amazing!!!! And when I say whipped up, I truly mean that, Andy has been sharing her progress online and she put this together super fast. You can see all the details at Andy's Blog,
A Bright Corner.
And while you are visiting
Andy at A Bright Corner, be sure to enter her giveaway. Like I said, this fabric isn't out until December, but my good friends at Moda have shared a Layer Cake to giveaway!! How awesome is that!!! You can enter the giveaway
at her blog.
I am just so happy to share this Dutch Days quilt and be sure to pop back in on Friday when I will share a second version of the quilt (and I'll give you a hint, think ombre :)
I hope you all have a very Happy Quilting Day!


